How To
Golden Glamour
Step 1
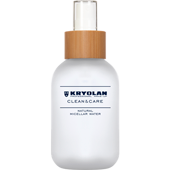
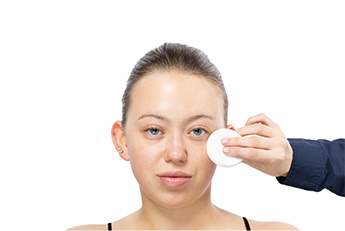
Firstly, Natural Micellar Water 120 ml is applied onto a cotton pad and gently swept over the skin to remove any residues and oils. The skin is now prepared to start with the application of caring products.
Firstly, Natural Micellar Water 120 ml is applied onto a cotton pad and gently swept over the skin to remove any residues and oils. The skin is now prepared to start with the application of caring products.
Step 2
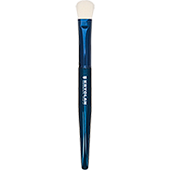
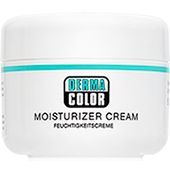
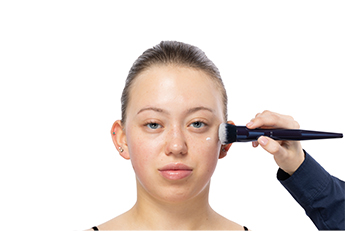
Dermacolor Feuchtigkeitscreme is worked into the skin to balance and add hydration, making it ready for all base products to be applied on top. The Blue Master Ultimate Buffing Brush is used to ensure an even application.
Dermacolor Feuchtigkeitscreme is worked into the skin to balance and add hydration, making it ready for all base products to be applied on top. The Blue Master Ultimate Buffing Brush is used to ensure an even application.
Step 3
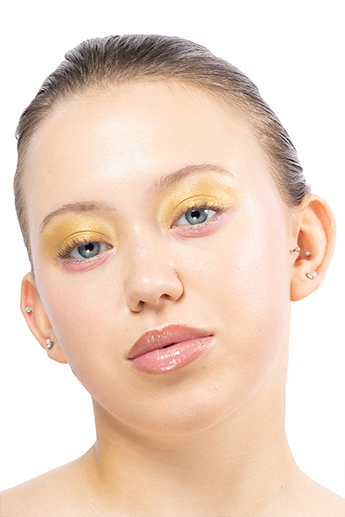
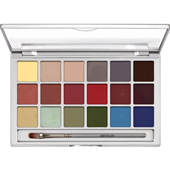
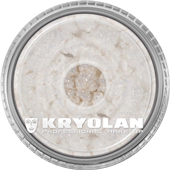
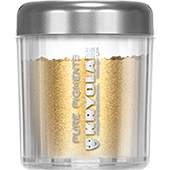
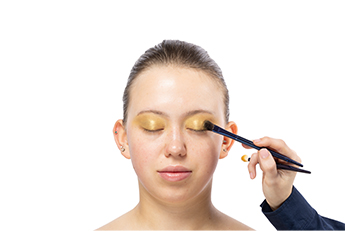
For this look, we are starting to focus on the eyes first. A minimal amount of Supracolor 8 ml (V 23) is mixed with Supracolor 8 ml (509) from the Coloring Vision Palette 18 Farben (Vivid). Once the desired color is achieved, this is placed on the mobile lid and softly blended up and diffused towards the brow and temple. This cream base is then set into place using the Pure Pigments Metallic (pure gold) and Glamour Sparks (golden). This will ensure a soft shimmering finish is created.
For this look, we are starting to focus on the eyes first. A minimal amount of Supracolor 8 ml (V 23) is mixed with Supracolor 8 ml (509) from the Coloring Vision Palette 18 Farben (Vivid). Once the desired color is achieved, this is placed on the mobile lid and softly blended up and diffused towards the brow and temple. This cream base is then set into place using the Pure Pigments Metallic (pure gold) and Glamour Sparks (golden). This will ensure a soft shimmering finish is created.
Step 4
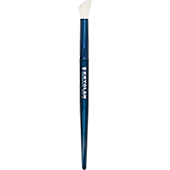
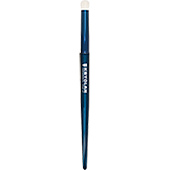
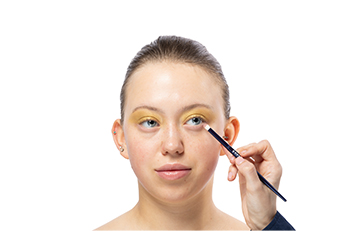
In this next step, shade 03 from the Coloring Vision Palette 18 Farben (Vivid) is applied and blended along the lower lash line using the Blue Master Eye Shadow Contour Brush Small.
In this next step, shade 03 from the Coloring Vision Palette 18 Farben (Vivid) is applied and blended along the lower lash line using the Blue Master Eye Shadow Contour Brush Small.
Step 5
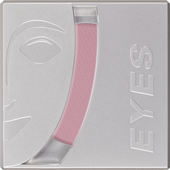
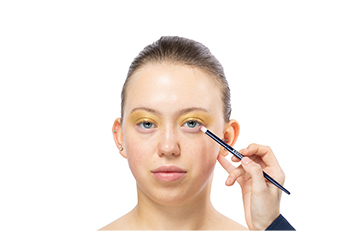
This cream base is then set into place with the Eye Shadow Matt (candy). Buff it into the skin with Blue Master Eye Shadow Contour Brush Small.
This cream base is then set into place with the Eye Shadow Matt (candy). Buff it into the skin with Blue Master Eye Shadow Contour Brush Small.
Step 6
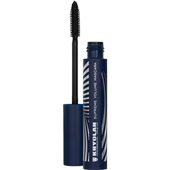
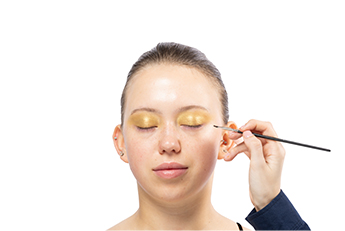
Now, Supreme Volume Mascara (black) is applied to the upper lashes by fully coating the Training Brush and painting the product through the lashes. This removes any pigment that may have fallen onto the eyelashes and also creates separation and definition.
Now, Supreme Volume Mascara (black) is applied to the upper lashes by fully coating the Training Brush and painting the product through the lashes. This removes any pigment that may have fallen onto the eyelashes and also creates separation and definition.
Step 7
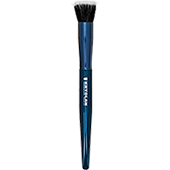
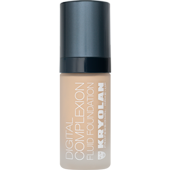
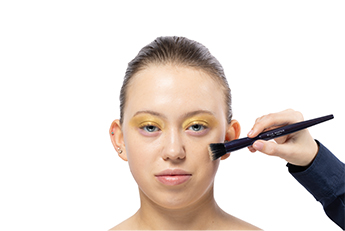
Moving on to the skin, the Digital Complexion Fluid Foundation (here O12 and O14) are mixed together to create the perfect shade. We recommend that you mix together the shades that you require. This mix is then buffed into the skin using Blue Master Dual-Fiber Blending Brush Large to create a flawless yet natural finish. Stipple a thin layer onto the skin and add more if needed.
Moving on to the skin, the Digital Complexion Fluid Foundation (here O12 and O14) are mixed together to create the perfect shade. We recommend that you mix together the shades that you require. This mix is then buffed into the skin using Blue Master Dual-Fiber Blending Brush Large to create a flawless yet natural finish. Stipple a thin layer onto the skin and add more if needed.
Step 8
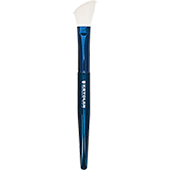
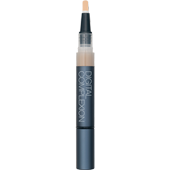
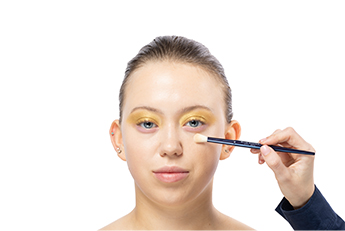
The Digital Complexion Concealer (here in O12) is applied to the area under the eye and blended towards the temple to add additional coverage and brightness if needed. The Blue Master Angled Blending Brush is used for this step. Again, only apply the product in very thin layers.
The Digital Complexion Concealer (here in O12) is applied to the area under the eye and blended towards the temple to add additional coverage and brightness if needed. The Blue Master Angled Blending Brush is used for this step. Again, only apply the product in very thin layers.
Step 9
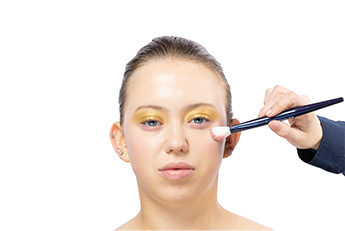
A soft flush of color is applied to the cheekbones and bridge of the nose using 03 from the same Coloring Vision Palette 18 Farben that was used on the eyes. This color connects the individual details together. Use Blue Master Contoured Blusher Brush for this application.
A soft flush of color is applied to the cheekbones and bridge of the nose using 03 from the same Coloring Vision Palette 18 Farben that was used on the eyes. This color connects the individual details together. Use Blue Master Contoured Blusher Brush for this application.
Step 10
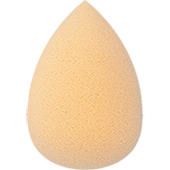
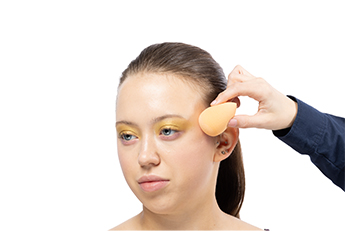
Shimmering Event Foundation in Pearl is loaded onto the base of a Unicorn Perfecter Sponge and pressedon top of the cheekbones, bridge of the nose, above the brow, and lip to add a radiant finish without disturbing the base underneath.
Shimmering Event Foundation in Pearl is loaded onto the base of a Unicorn Perfecter Sponge and pressedon top of the cheekbones, bridge of the nose, above the brow, and lip to add a radiant finish without disturbing the base underneath.
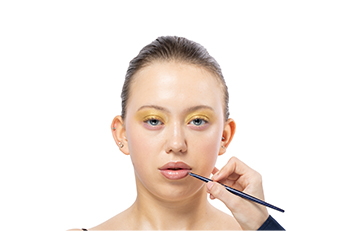
Step 11
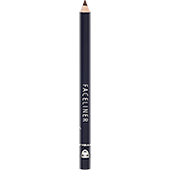
Next up are the lips. A small detailing brush is used to line and soften the application of the Faceliner (20). Draw around the natural shape of the lip.
Next up are the lips. A small detailing brush is used to line and soften the application of the Faceliner (20). Draw around the natural shape of the lip.
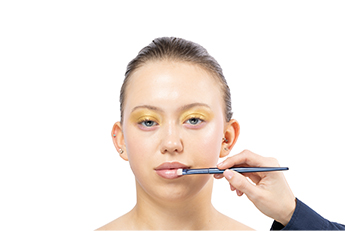
Step 12
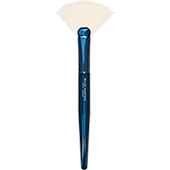
Shimmering Event Foundation in Pearl and shade 03 from the Coloring Vision Palette 18 Farben (Vivid) are mixed together and worked into the center of the lip to add delicate color and shine. A Blue Master Fan Brush is used for this step.
Shimmering Event Foundation in Pearl and shade 03 from the Coloring Vision Palette 18 Farben (Vivid) are mixed together and worked into the center of the lip to add delicate color and shine. A Blue Master Fan Brush is used for this step.
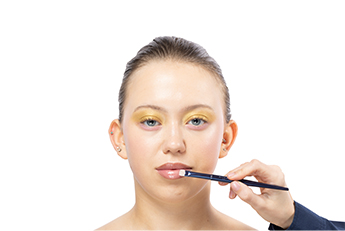
Step 13
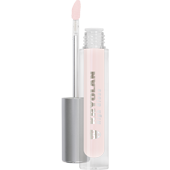
To create the very trendy wet look effect to the lips, apply High Gloss (crystal rose) across the entirety of the lip. This will add a wet look glazed finish.
To create the very trendy wet look effect to the lips, apply High Gloss (crystal rose) across the entirety of the lip. This will add a wet look glazed finish.
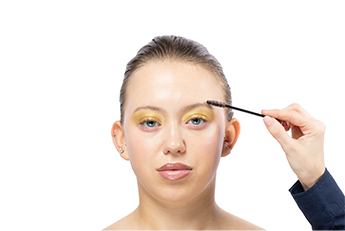
Step 14
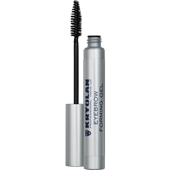
Eyebrow Forming Gel (clear) in Clear is brushed through the brows to comb and groom them into place.
Eyebrow Forming Gel (clear) in Clear is brushed through the brows to comb and groom them into place.

